Server
GitLab EE
What is GitLab EE?
GitLab EE (Enterprise Edition) is a self-hosted Git repository management system that provides a complete DevOps platform for software development teams. It offers a wide range of features, including source code management, code review, continuous integration, issue tracking, and more. GitLab EE is designed to help teams collaborate more effectively and streamline their development workflows.
![]()
Prerequisites
存储
需要的硬盘空间主要取决于您希望在 GitLab 中存储的仓库的大小,但作为一个指导原则,您应该至少有与所有仓库总大小相当的可用空间。
Linux 包的安装大约需要 2.5 GB 的存储空间。
如果您想在未来灵活地增加硬盘空间,请考虑使用逻辑卷管理(LVM)来挂载它,这样您可以在需要时添加更多硬盘。
除了本地硬盘,您还可以挂载支持网络文件系统(NFS)协议的卷。这个卷可能位于文件服务器、网络附加存储(NAS)设备、存储区域网络(SAN)或亚马逊网络服务(AWS)的弹性块存储(EBS)卷上。
如果您有足够的 RAM 和较新的 CPU,GitLab 的速度主要受限于硬盘的寻道时间。拥有快速的硬盘(7200 RPM 及以上)或固态硬盘(SSD)可以提高 GitLab 的响应速度。
CPU
CPU 的要求取决于用户数量和预期的工作负载。根据您的工作负载,您的实际需求可能会更多。您的工作负载受到多种因素的影响,例如(但不限于)用户活跃度、自动化程度、镜像使用以及仓库/变更的大小。
以下是为一些示例 GitLab 用户基础规模推荐的最低 CPU 硬件指导。
建议最少配置 4 核心,可支持多达 500 用户 8 核心可支持多达 1000 用户
内存
内存需求取决于用户数量和预期的工作负载。根据您的工作负载,您的实际需求可能会更多。您的工作负载受到多种因素的影响,例如(但不限于)用户活跃度、自动化程度、镜像使用以及仓库/变更的大小。
以下是为一些示例 GitLab 用户基础规模推荐的最低内存硬件指导。
- 4 GB RAM 是所需的最低内存大小,可支持多达 500 用户
- 8 GB RAM 可支持多达 1000 用户 对于较小的安装,您应该:
即使有足够的可用 RAM,也应在服务器上至少配置 2 GB 的交换空间。配置交换空间有助于减少可用内存变化时出错的可能性。 将内核的交换性(swappiness)设置配置为低值,如 10,以充分利用 RAM,同时在需要时仍然有交换空间可用。
Installation
> curl -s https://packages.gitlab.com/install/repositories/gitlab/gitlab-ee/script.deb.sh | sudo bash

# Download the gitlab-ee package and dependencies to /var/cache/apt/archives
$ sudo apt-get install --download-only gitlab-ee

# Copy the contents of the apt download folder to a mounted media device
$ sudo mkdir -p /data/ && sudo cp /var/cache/apt/archives/*.deb /data
Install Package
Navigate to the physical media device
> cd /data
Install the dependency packages
> sudo dpkg -i gitlab-ee_*.deb

Alternative Installation
> sudo apt update
> sudo apt install -y curl openssh-server \
ca-certificates tzdata perl
> curl https://packages.gitlab.com/install/\
repositories/gitlab/gitlab-ee/script.deb.sh | sudo bash
> sudo EXTERNAL_URL="http://gitlab.example.com" apt install gitlab-ee
Login
Unless you provided a custom password during installation, the default credentials will be randomly generated and stored for 24 hours in /etc/gitlab/initial_root_password. Use this password with username root to login.
Configuration
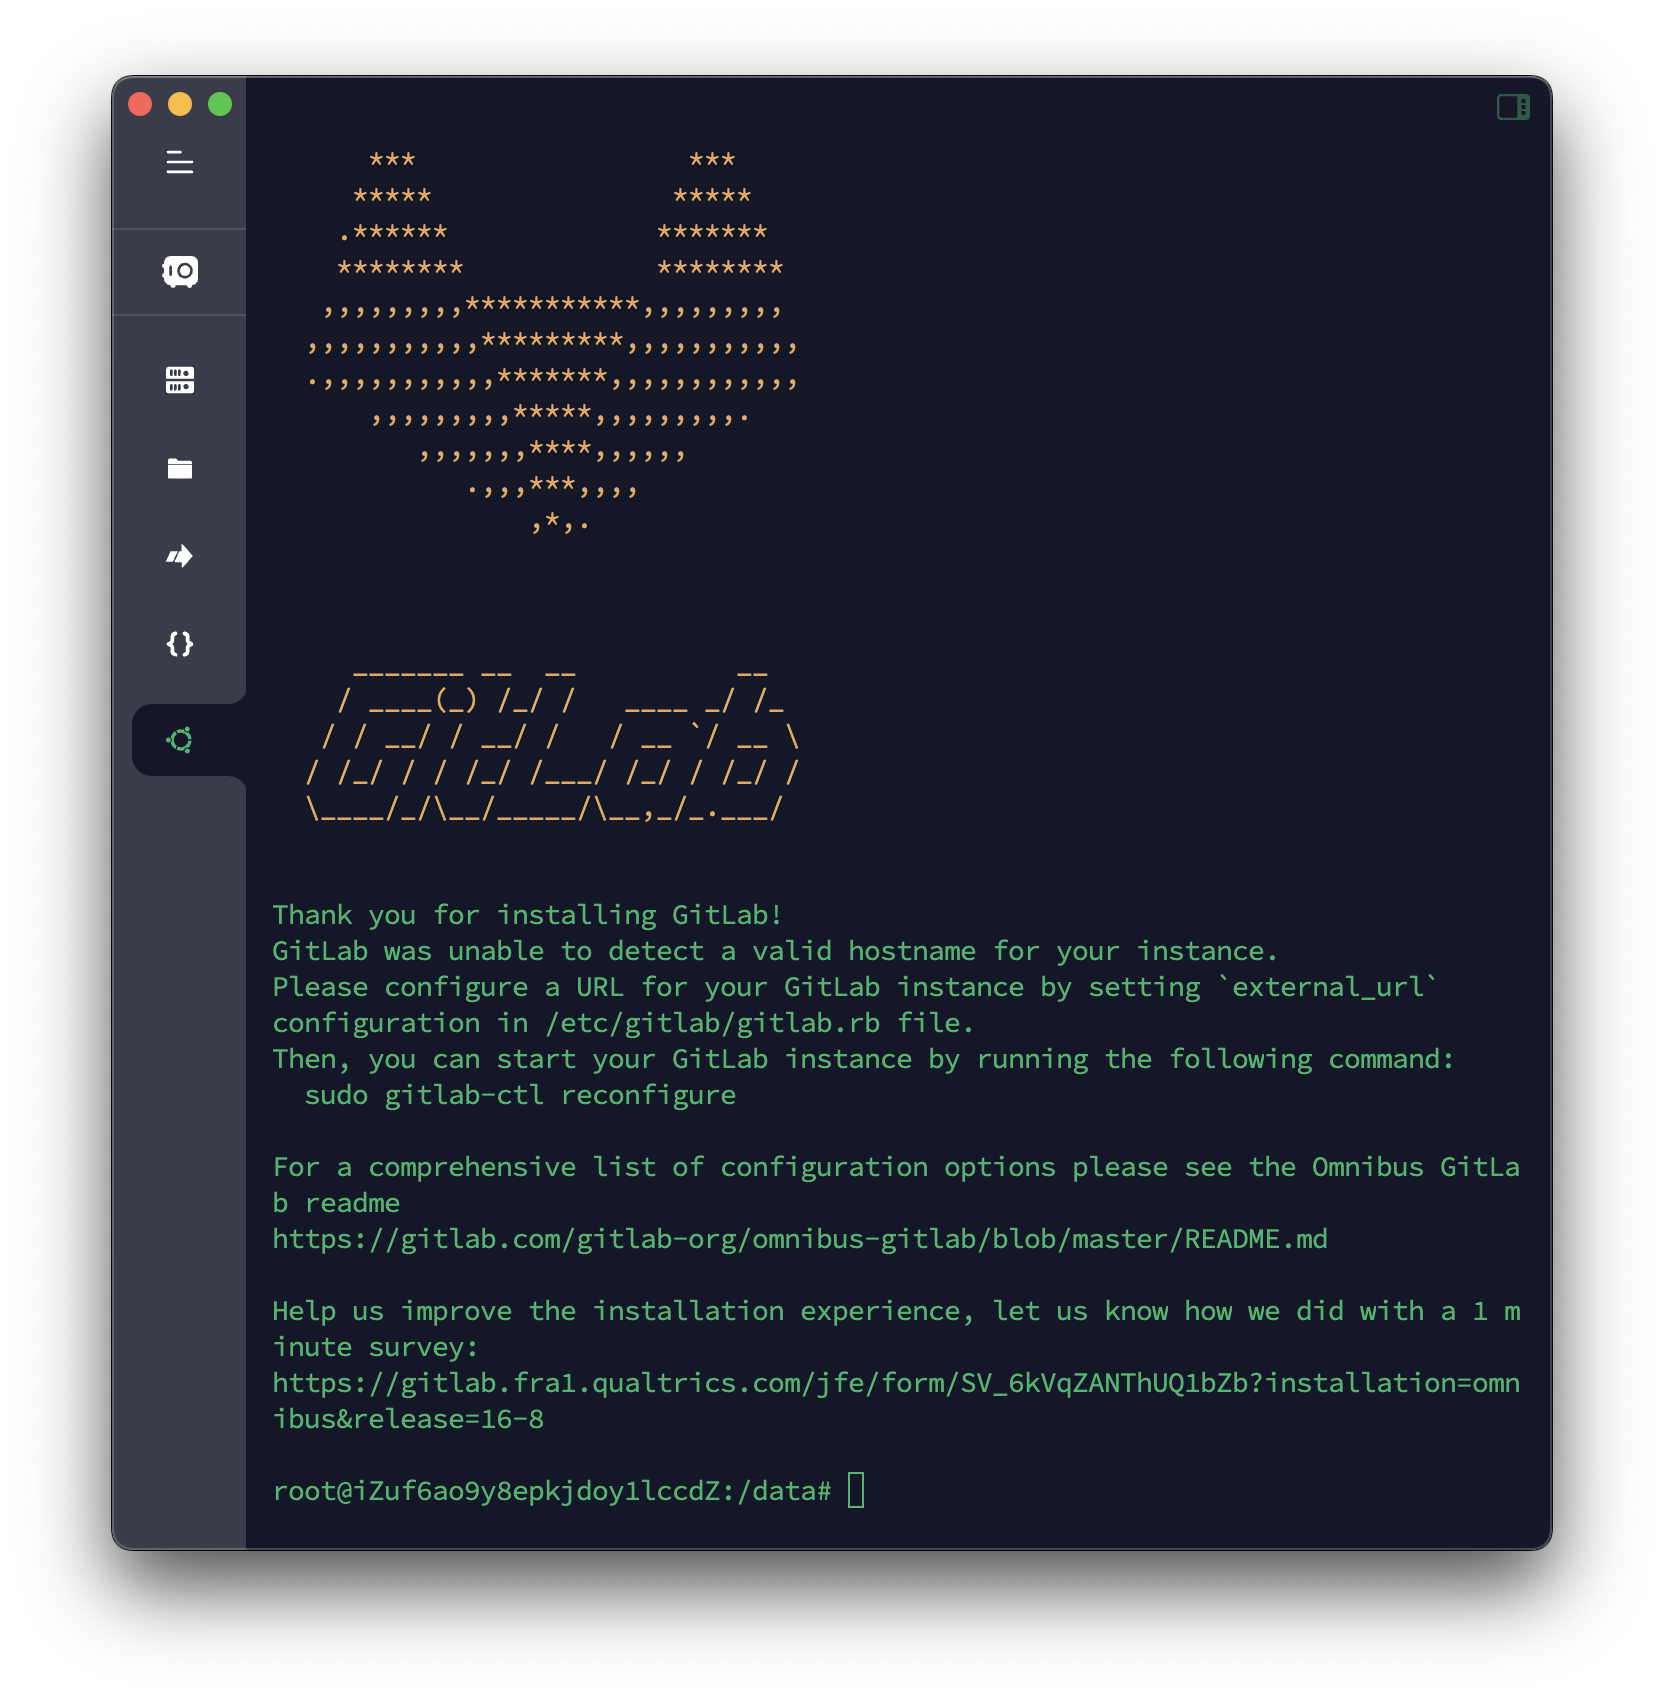
Edit the /etc/gitlab/gitlab.rb configuration file to customize the GitLab installation.
- Change necessary settings
external_url 'http://git.yourdomain.com'
- Reconfigure GitLab
> sudo gitlab-ctl reconfigure
In the first reconfiguration run, GitLab will generate a random password for the root user. You can find the initial root password in the /etc/gitlab/initial_root_password file. This password will expire after 24 hours.
Notes: Default admin account has been configured with following details: Username: root Password: You didn't opt-in to print initial root password to STDOUT. Password stored to /etc/gitlab/initial_root_password. This file will be cleaned up in first reconfigure run after 24 hours.
配置成功后,可通过 /etc/gitlab/initial_root_password 查看初始密码,初始密码会在 24 小时后过期而无法使用。如可正常登录,可通过以下步骤修改管理员密码:
- 登录到 GitLab 管理员面板
- 在左侧边栏的底部,选择
管理区域(Admin Area) - 选择
概览(Overview)>用户(Users) - 找到您想要更新密码的用户,选择
编辑(Edit) - 在
密码(Password)区域,输入一个新密码及其确认密码 - 选择
保存更改(Save changes) - 将显示一个确认信息。
如果初始密码无法登录,可通过以下步骤修改管理员密码:
> sudo gitlab-rake "gitlab:password:reset"
如需修改其他用户密码,可通过以下命令修改:
> sudo gitlab-rake "gitlab:password:reset[username]"
Configure Nginx
用户可以通过 gitlab.rb 为不同的服务配置不同的 NGINX 设置。可以使用 nginx['<some setting>'] 键来配置 GitLab Rails 应用程序的设置。其他服务,如 pages_nginx、mattermost_nginx 和 registry_nginx,也有类似的键。对于 nginx 的所有可用配置也适用于这些 <service_nginx> 设置,并且与 GitLab NGINX 的默认值相同。
如果通过 gitlab.rb 进行修改,用户必须分别为每个服务配置 NGINX 设置。通过 nginx['foo'] 给出的设置将不会复制到特定服务的 NGINX 配置中(如 registry_nginx['foo'] 或 mattermost_nginx['foo'] 等)。例如,要为 GitLab、Mattermost 和 Registry 配置 HTTP 到 HTTPS 重定向,应该将以下设置添加到 gitlab.rb:
nginx['redirect_http_to_https'] = true
registry_nginx['redirect_http_to_https'] = true
mattermost_nginx['redirect_http_to_https'] = true
HTTPS
如果 gitlab.rb 文件中的 external_url 设置了 https, GitLab 自身可以通过 Let's Encrypt 创建证书。
开启 Let's Encrypt
## GitLab instance
external_url "https://gitlab.example.com"         # Must use https protocol
letsencrypt['contact_emails'] = ['foo@email.com'] # Optional

## Container Registry (optional), must use https protocol
registry_external_url "https://registry.example.com"
#registry_nginx['ssl_certificate'] = "path/to/cert"      # Must be absent or commented out

## Mattermost (optional), must use https protocol
mattermost_external_url "https://mattermost.example.com"
Auto renew Let's Encrypt certificate
# Renew every 7th day of the month at 12:30
letsencrypt['auto_renew_hour'] = "12"
letsencrypt['auto_renew_minute'] = "30"
letsencrypt['auto_renew_day_of_month'] = "*/7"
Renew certificate manually
> sudo gitlab-ctl reconfigure

# or

> sudo gitlab-ctl renew-le-certs
Redis
Enable Redis for GitLab, editing the gitlab.rb configuration file:
redis['enable'] = true
Setup the redis server information:
### GitLab Redis settings
###! Connect to your own Redis instance
###! Docs: https://docs.gitlab.com/omnibus/settings/redis.html

#### Redis TCP connection
gitlab_rails['redis_host'] = "127.0.0.1"
gitlab_rails['redis_port'] = 6379
gitlab_rails['redis_ssl'] = false
gitlab_rails['redis_password'] = nil
gitlab_rails['redis_database'] = 0
Storage
- Stop the gitlab service
> sudo gitlab-ctl stop

# return
ok: down: alertmanager: 0s, normally up
ok: down: gitaly: 0s, normally up
ok: down: gitlab-exporter: 1s, normally up
ok: down: gitlab-kas: 0s, normally up
ok: down: gitlab-workhorse: 0s, normally up
ok: down: logrotate: 1s, normally up
ok: down: nginx: 0s, normally up
ok: down: node-exporter: 1s, normally up
ok: down: postgres-exporter: 0s, normally up
ok: down: postgresql: 0s, normally up
ok: down: prometheus: 1s, normally up
ok: down: puma: 1s, normally up
ok: down: redis: 0s, normally up
ok: down: redis-exporter: 1s, normally up
ok: down: sidekiq: 1s, normally up
- Edit the
/etc/gitlab/gitlab.rbconfiguration file, change thegit_data_dirssetting:
git_data_dirs({
  "default" => {
    "path" => "/data/gitlab"
  }
})
- Move the existing data to the new location
> sudo mv /var/opt/gitlab/git-data /data/gitlab
- Reconfigure GitLab
> sudo gitlab-ctl reconfigure
- Start the gitlab service
> sudo gitlab-ctl start
- To configure email, edit the
gitlab.rbconfiguration file:
# Change from
user['git_user_email'] = "gitlab@#{node['fqdn']}"

# to
user['git_user_email'] = "no_reply@email.tonylabs.com"
- Setup the SMTP server information:
gitlab_rails['smtp_enable'] = true
gitlab_rails['smtp_address'] = "smtpdm.aliyun.com"
gitlab_rails['smtp_port'] = 465
gitlab_rails['smtp_user_name'] = "no_reply@email.tonylabs.com"
gitlab_rails['smtp_password'] = ""
gitlab_rails['smtp_domain'] = "tonylabs.com"
gitlab_rails['smtp_authentication'] = "login"
gitlab_rails['smtp_enable_starttls_auto'] = false
gitlab_rails['smtp_tls'] = true
# gitlab_rails['smtp_pool'] = false

###! **Can be: 'none', 'peer', 'client_once', 'fail_if_no_peer_cert'**
###! Docs: http://api.rubyonrails.org/classes/ActionMailer/Base.html
gitlab_rails['smtp_openssl_verify_mode'] = 'peer'

# If your SMTP server does not like the default 'From: gitlab@localhost' you
# can change the 'From' with this setting.
gitlab_rails['gitlab_email_from'] = 'no_reply@email.tonylabs.com'
gitlab_rails['gitlab_email_display_name'] = 'Git@TONYLABS'
gitlab_rails['gitlab_email_reply_to'] = 'no_reply@email.tonylabs.com'
- Reconfgiure GitLab
> sudo gitlab-ctl reconfigure
Upgrade
- Update the package
> sudo apt update
> sudo apt upgrade
- Upgrade GitLab
> sudo gitlab-ctl restart redis